Carroll Shelby Signature Sticker Vinyl Decal Mustang GT350 GT500 Cobra - 9" For Sale
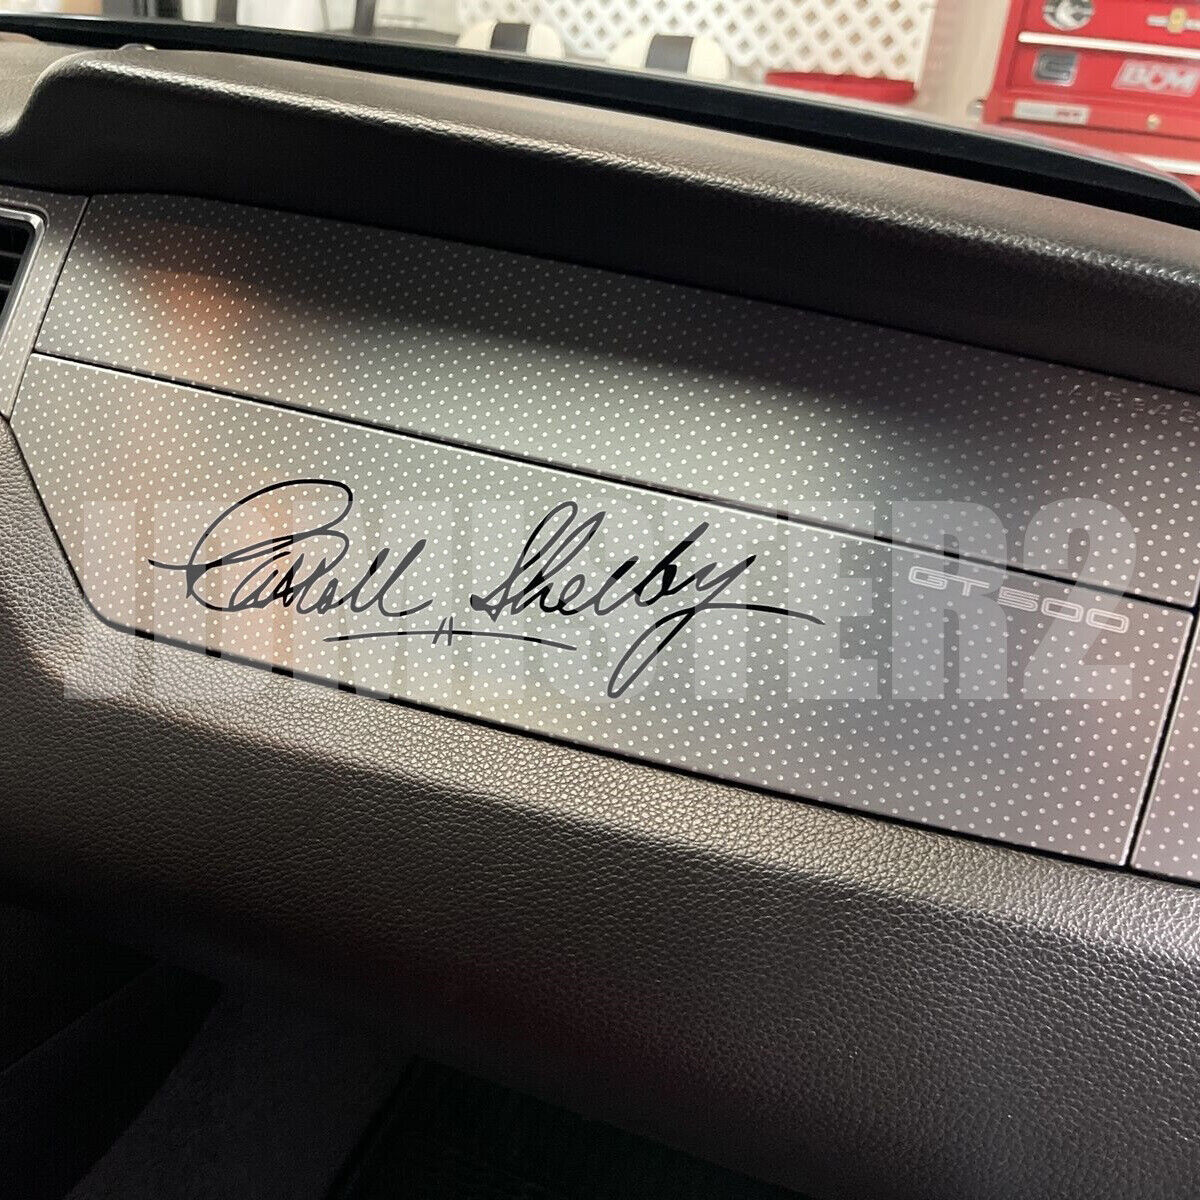
Carroll Shelby Signature Sticker Vinyl Decal Mustang GT350 GT500 Cobra - 9"
Click HERE for more information about this vehicle.

THESE STICKERS ARE CUT USING PREMIUM HEAT RESISTANT MATERIAL. ALL DECALS ARE MADE TO ORDER AND IS BRAND NEW. ALL ORDERS PLACED WITHIN BUSINESS DAYS WILL RECEIVE TRACKING NUMBER WITHIN 24 HOURS!**IMPORTANT**PHOTO ON LISTING IS JUST FOR REFERENCE OF HOW THE DECAL LOOKS.IT DOES NOT MEAN IT WILL FIT ON YOUR CAR LIKE THE PHOTO.PLEASE MEASURE YOUR APPLICATION TO ENSURE THE SIZE YOU NEED.SO AGAIN, DO NOT USE THE PHOTOTO GAUGE ONTHE SIZE OF HOW IT WILL LOOK ON YOUR DOOR.WE ARE NOT RESPONSIBLE IF THESE DECALS DO NOT FIT YOUR APPLICATION.CUSTOM SIZE IS AVAILABLE UPON REQUEST!About Vinyl Decals:
These are DIE-CUT decals using PREMIUM heat resistantmaterial so it can withstand the outdoor heat!
Vinyl Decals come in 1 piece:
1. Top layer is a transparent transfer tape.
(Holds your decal or sticker together until it is applied)2. Middle layer is your actual decal or sticker
(It is sandwiched between the Application Tape and the Wax Backing)3. Bottom layer is the paper backing.
(protects the adhesive until the decal is ready to be applied)Application Tips:
1. Do not apply on extreme cold or hot Surfaces. Ideal temperature must be between 60°F & 90°F (room temperature).
2. Do not touch the adhesive backing, oils from your skin will prevent sticking.
3. Before applying decal make sure there is no wax, oily products or dust on the surface of vehicle.Application Instructions:
1. Rub the sticker to be sure the transfer tape is properly adhered to the sticker.
2. Clean and dry the desired area.
3. Remove the paper backing slowly making sure the sticker stays adhered to the transparent transfer tape.4. Spray the area with 2% soap and 98% water.
5. Carefully position the sticker to the desired area. The water will allow the vinyl to be re-positioned.
6. Use a squeegee/credit card and rub the sticker from one side to the other, eliminating any air bubbles and water that is trapped underneath. Continue until the adhesive adheres to the vehicles surface.
7. Slowly remove the transfer tape, making sure no part of the sticker remains on the transfer tape.
8. You may use blow dryer to soften the adhesive some more and rub the sticker so it will adhere better.
9. Check for air bubbles. In most cases air bubbles can be worked to the edge of the sticker, but if not, a pin hole will allow the air out and become virtually invisible.10. Wrap the vinyl around the edges and use a blow dryer to dry off the remaining excess water.
